This document will serve as a guide to structuring your seminar workflow using CATMA. CATMA has a special workflow that can save you time in a seminar/lecture setting. It allows you to add members to your project in bulk and in ‘real time’, and automatically assign certain resource permissions to them.
This process is shown starting at step 3. However, you need to prepare a project first (steps 1 & 2). Whether you do this as part of your seminar/lecture or beforehand is up to you – it may be helpful for participants to see the initial steps if they are going to be working with their own projects later on.
STEP 1: Create Your Project
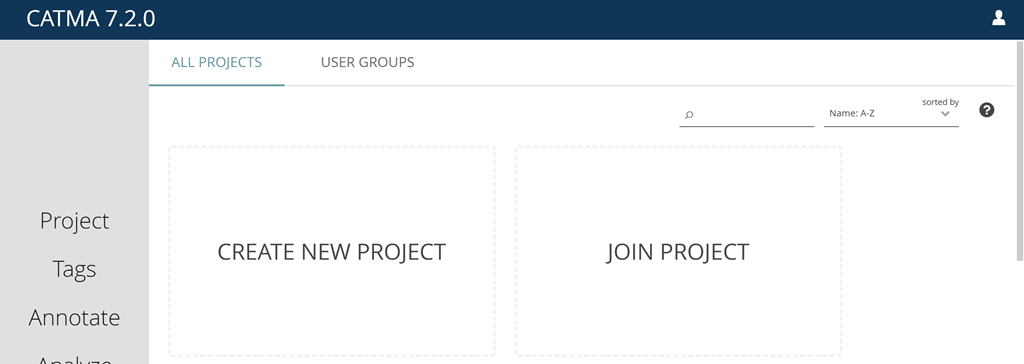
First, log in to CATMA. You will then be directed to your CATMA home screen, where you can see all your projects as well as your user groups. Within the view of of the projects you will be presented with options: Create New Project and Join Project. Create your project by selecting Create New Project.
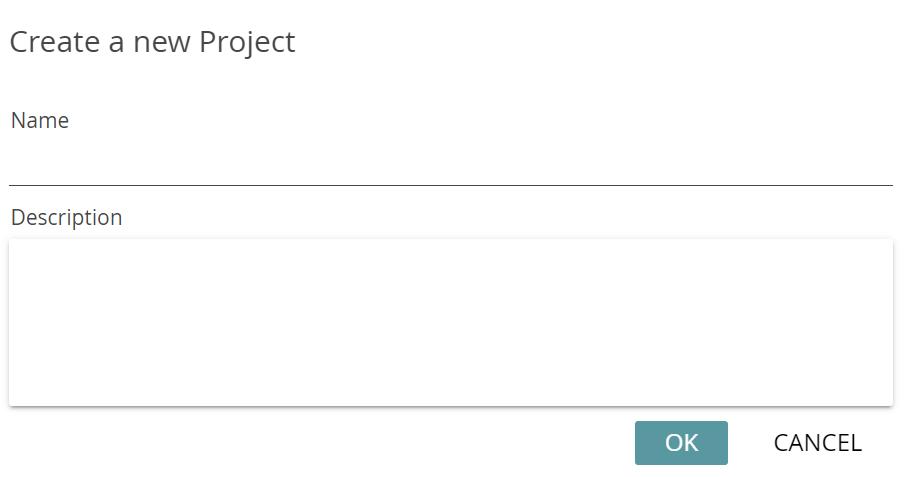
Type in a name and a description of your project, and confirm by clicking OK.
You can edit the name or description at any time by clicking the pencil icon.
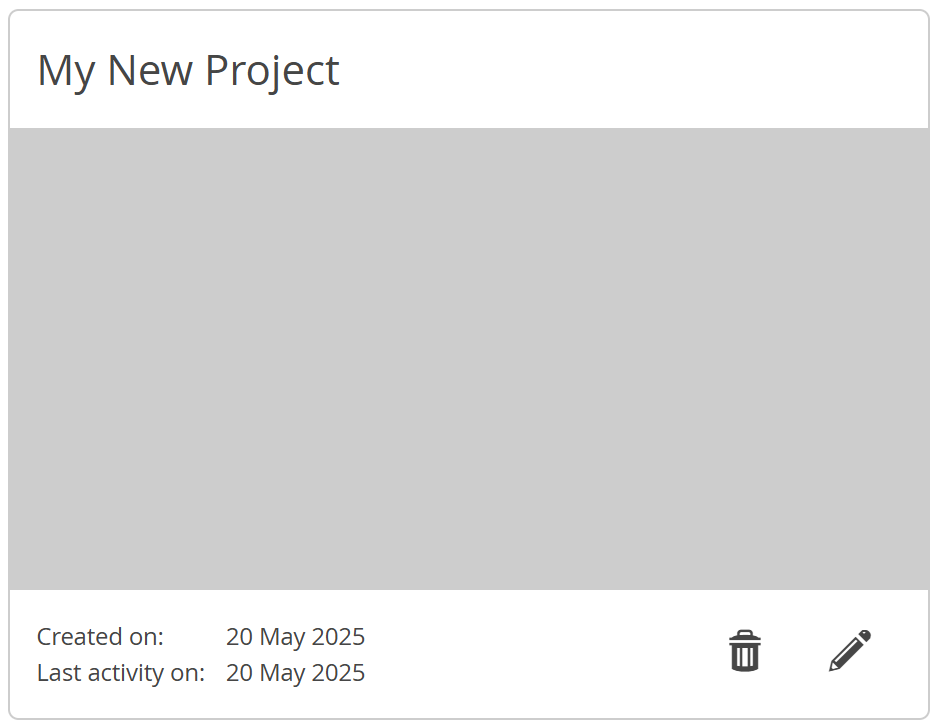
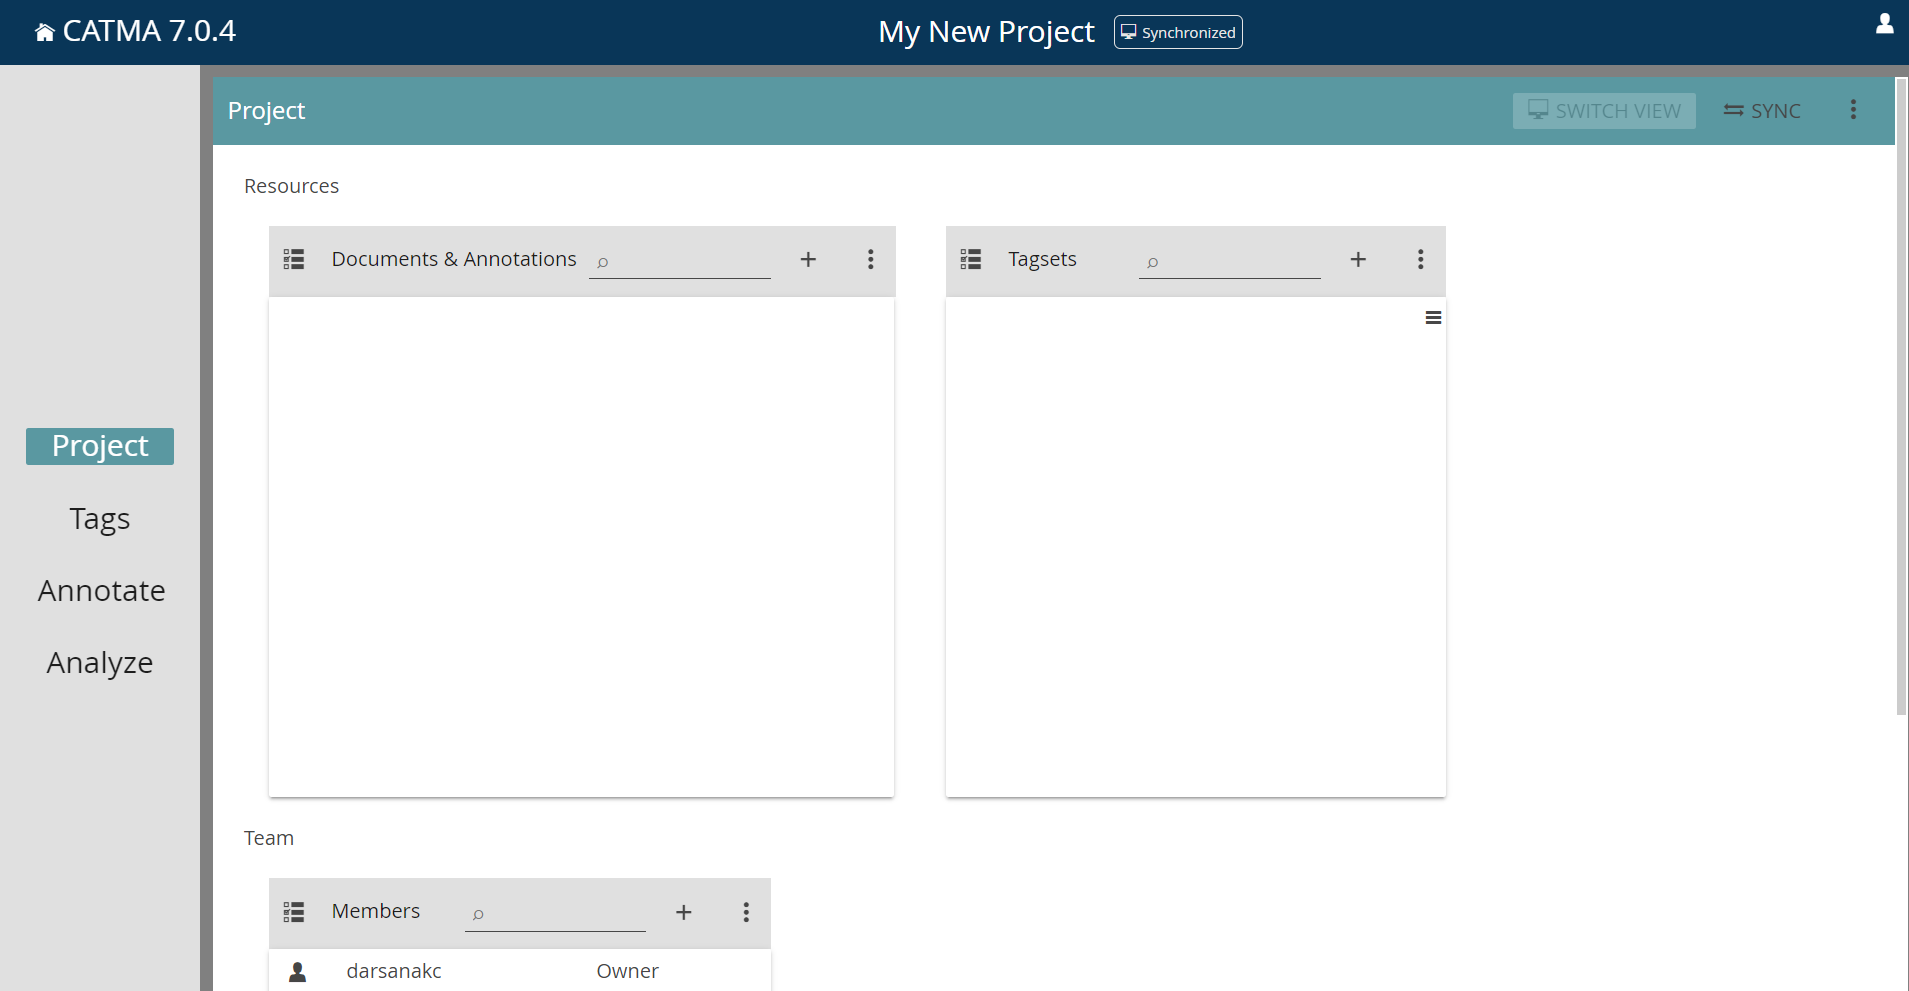
Click on the project tile to open the project.
Optional:
If someone is helping to manage your project, you can invite them directly as a Partner. This will allow them to do almost everything that you, as the owner, can do (see the Roles and Permissions table for details on the permissions of individual roles).
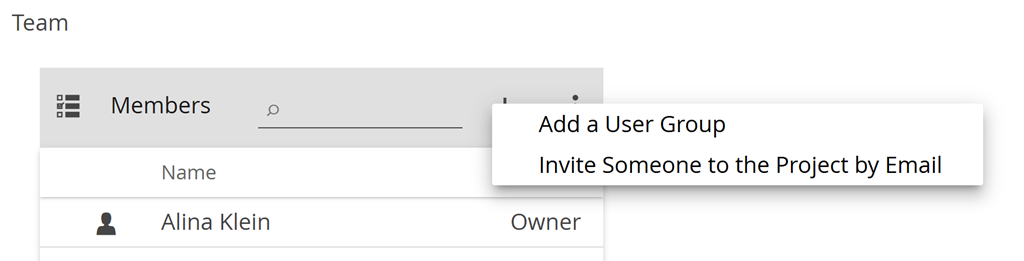
Under the Team section, simply click the plus icon at the top right of the Members panel and select Invite Someone to the Project by Email.
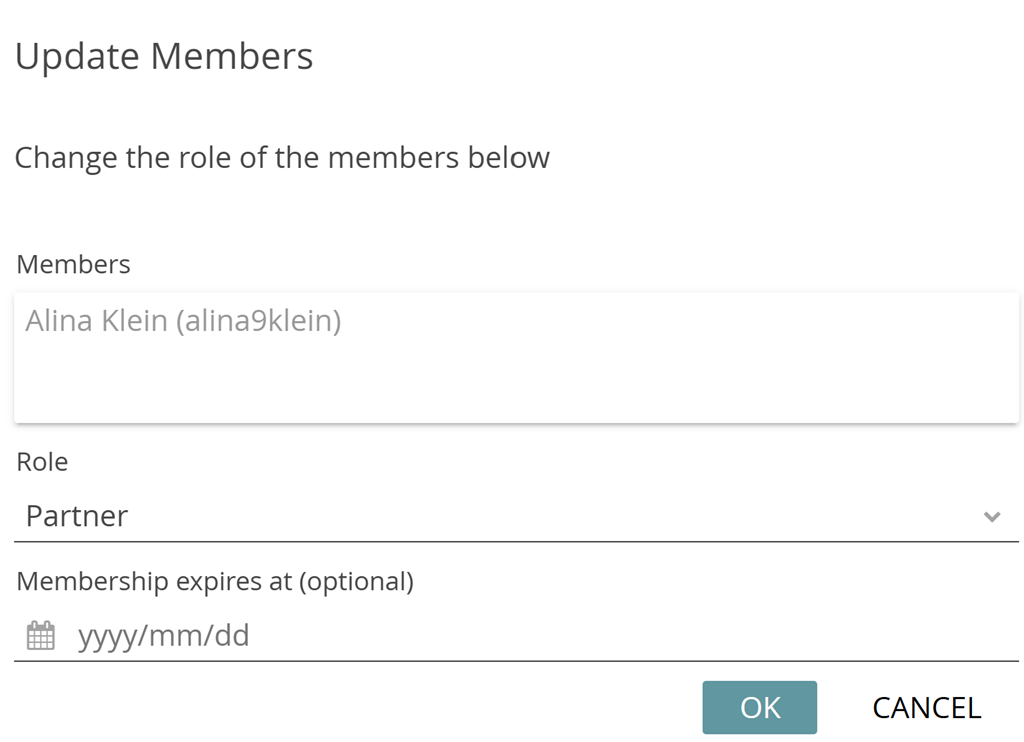
First type in the email addresses of the new members you’d like to add.
Next, select their role from the drop-down menu (in this case Partner).
Optionally, you can enter a date on which the new members’ membership in the project should expire.
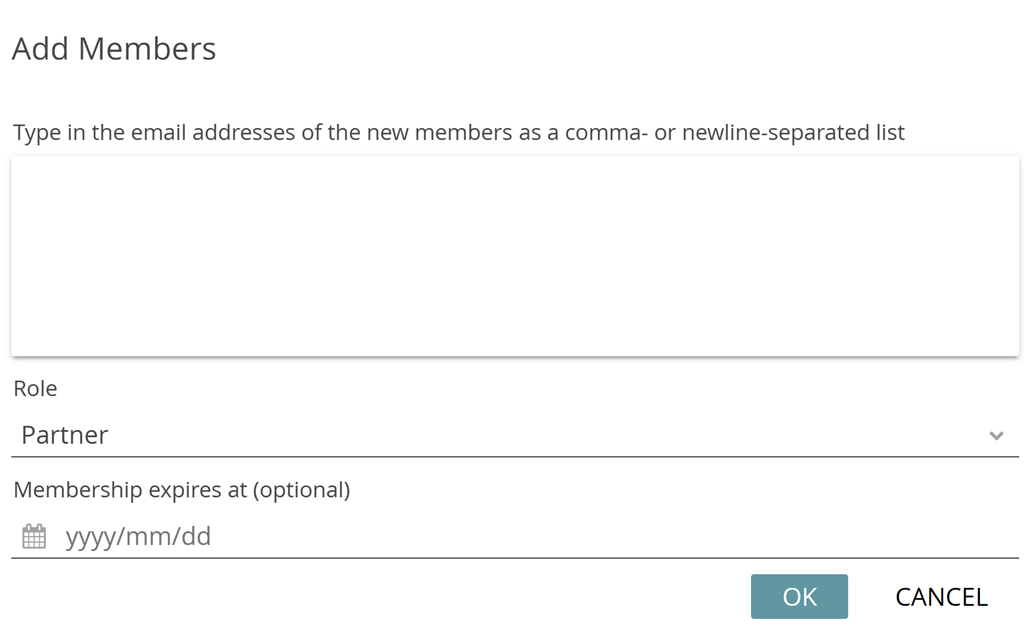
Confirm by clicking OK. The invited members will receive an email inviting them to join the project.
STEP 2: Create Project Resources
Once you have created your project and (optionally) invited your partner(s), you can create project resources – such as documents and tagsets – that will be shared with other participants.
Add Document(s)
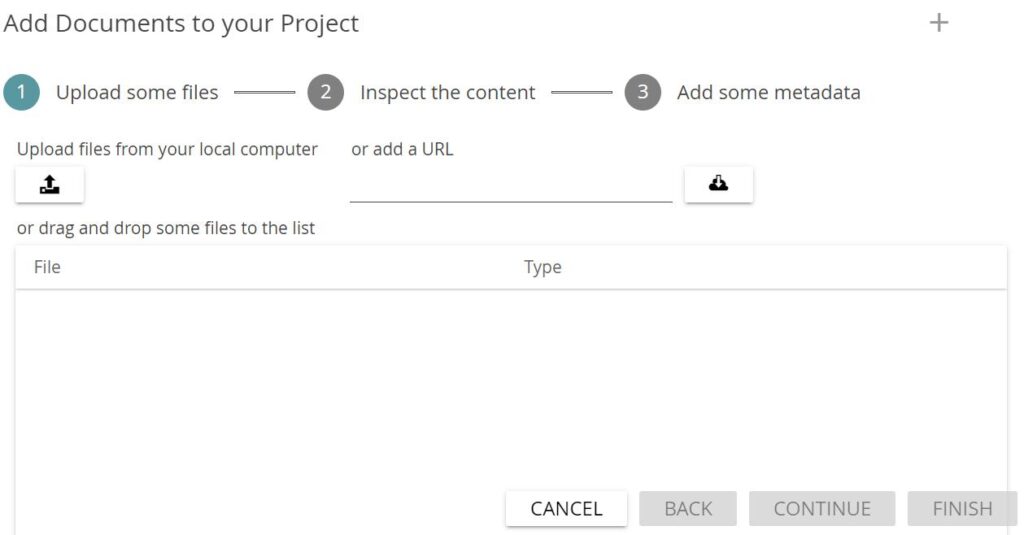
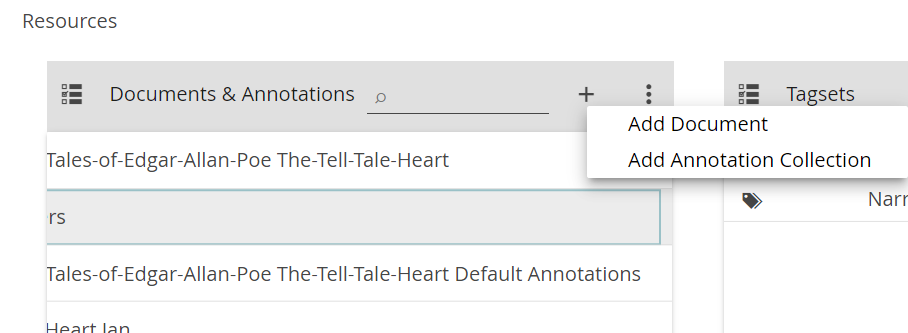
To add a document, under the Resources section, click the plus icon at the top right of the Documents & Annotations panel, then select Add Document.

A dialog will guide you through the process:
- Upload a document or paste a URL
- See a document preview
- Define the document language and optionally add metadata like author and description
Once completed, the new document(s) will be displayed in the Documents & Annotations panel.
Add Tagset(s)
You need at least one tagset if you want to annotate documents in CATMA. Tagsets contain the definitions of the tags that you want to assign to a text. You can think of a tagset as a set of categories, or a taxonomy. In a seminar/lecture setting, a single tagset is typically used by all participants.
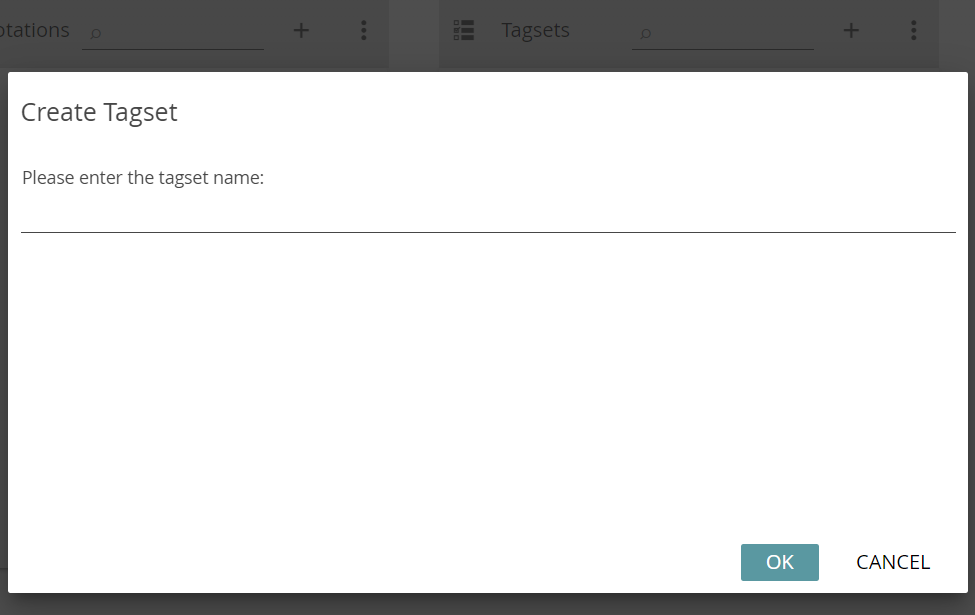
To create a new tagset, under the Resources section, click the plus icon at the top right of the Tagsets panel. In the dialog that opens, type in a name and confirm by clicking OK.
If you would like to, you can switch to the Tags module and create some tags in the new tagset now, or you can do so at a later stage. (We recommend that you do this before moving on to step 3.)
Add Annotation Collection(s)
In CATMA, annotations are stored separately from source documents, within so-called Annotations Collections. In a seminar/lecture setting, participants typically each have their own collection – allowing for both individual work, and later, combined or comparative analysis.
While you could create collections for everyone up-front, we recommend that you instruct participants to create their own collections after joining the project (after step 3). This will allow them to learn how to perform this important step, and it will mark them as being responsible for that resource (you can read more about the concept of responsibility in the section about Roles in the Compact Manual).
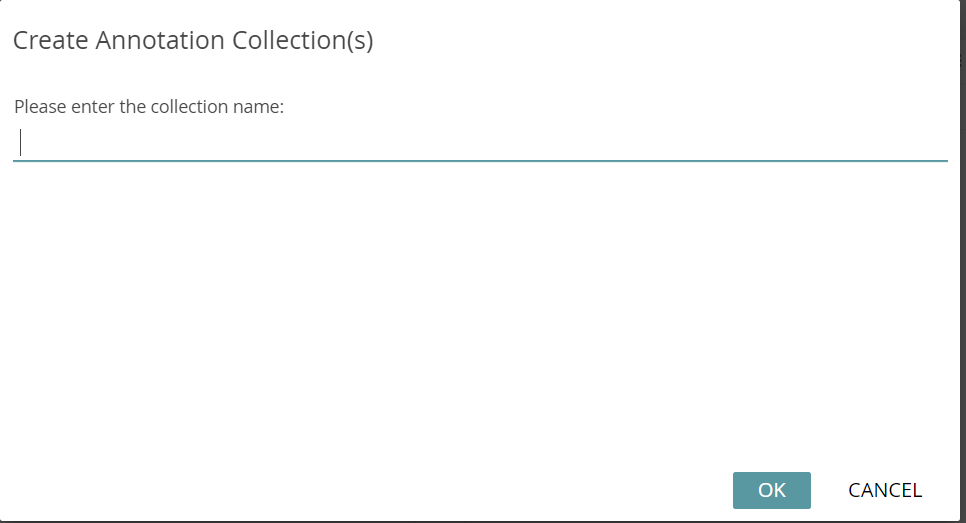
To create your own annotation collection, simply select one or more documents in the Documents & Annotations panel, then click on the plus icon at the top right and select Add Annotation Collection.
Enter your collection’s name and confirm by clicking OK.
The new annotation collection(s) will now be displayed beneath the selected document(s).
At this point the project owner should synchronize before starting the invitation process. That way the owner’s prepared resources can be viewed by invited members as soon as they join. To synchronize, click the button labeled SYNC at the top right of the Project module.
Please see the Compact Manual to learn more about synchronizing.
STEP 3: Add Members to Your Project
There are several ways to add a large number of users to a project.
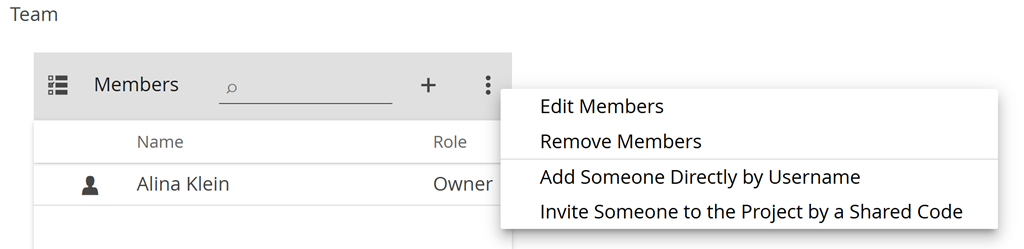
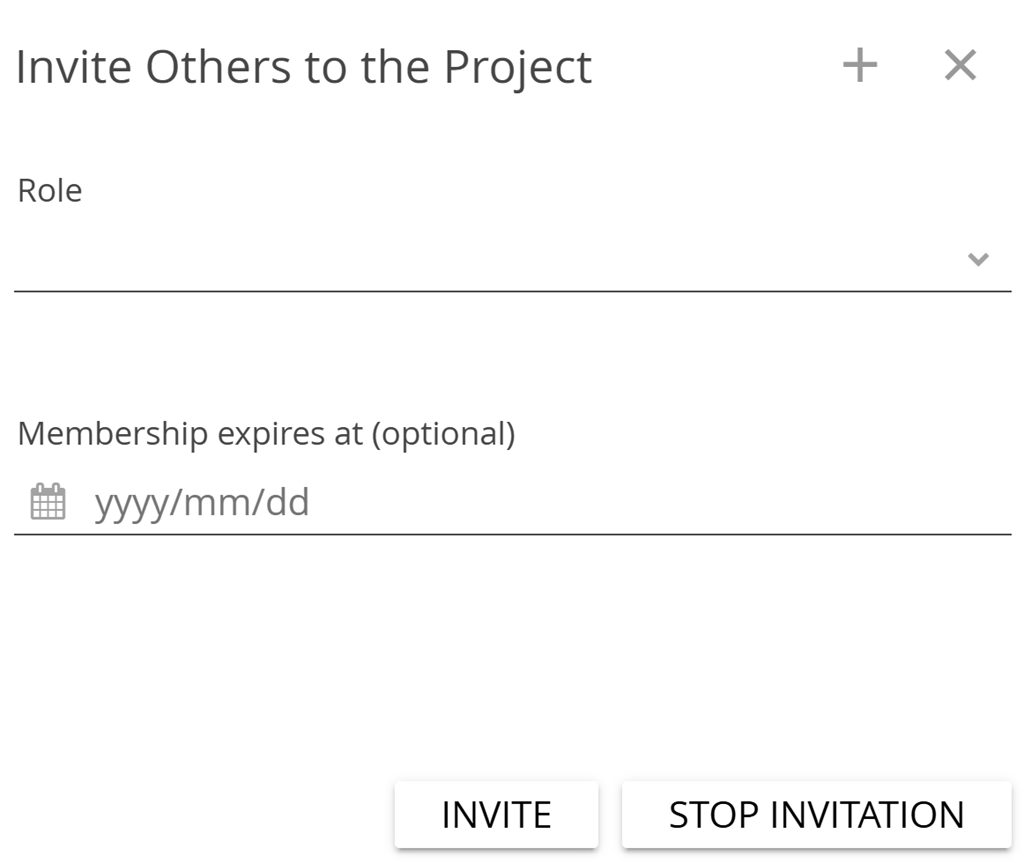
In a seminar/lecture setting, it makes sense to add members in bulk and in real time via an invitation code. Click the three-dot menu at the top right of the Members panel and select Invite Someone to the Project by a Shared Code.
Select a role for the new members from the drop-down menu. This role will be assigned to all invitees. We suggest that you select the Assistant role (for details on the permissions of the different roles, see the table on the Roles and Permissions page). An optional expiry date for the memberships of the members can also be selected here. Finally, click on Invite.
A six-digit invitation code will now be displayed at the top of the dialog.
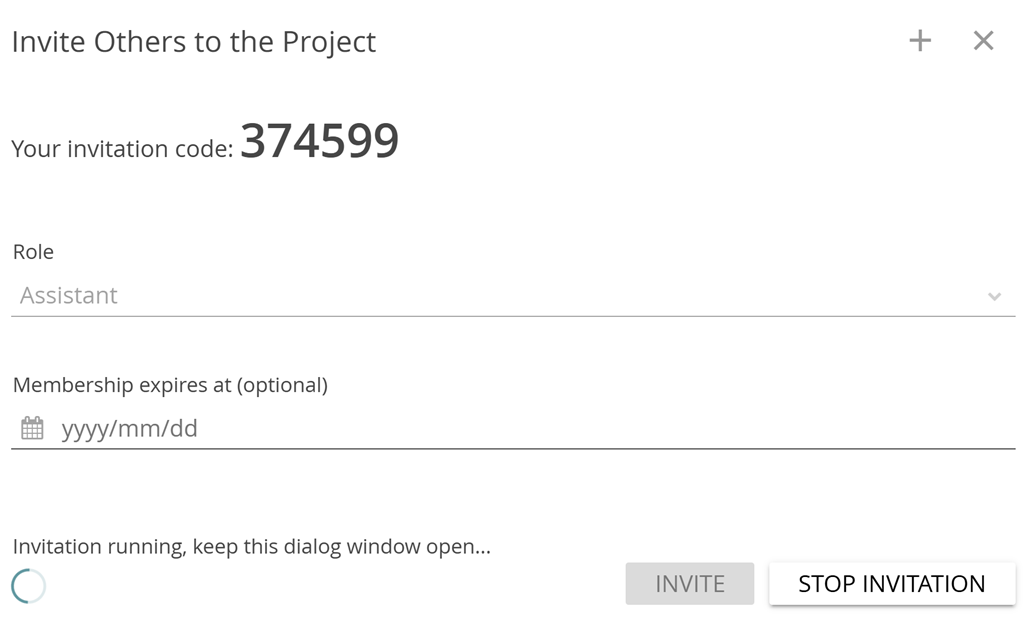
Supply the intended new members with this code. NB: Wait until everyone has joined – the invitation code is only valid while the dialog is open.
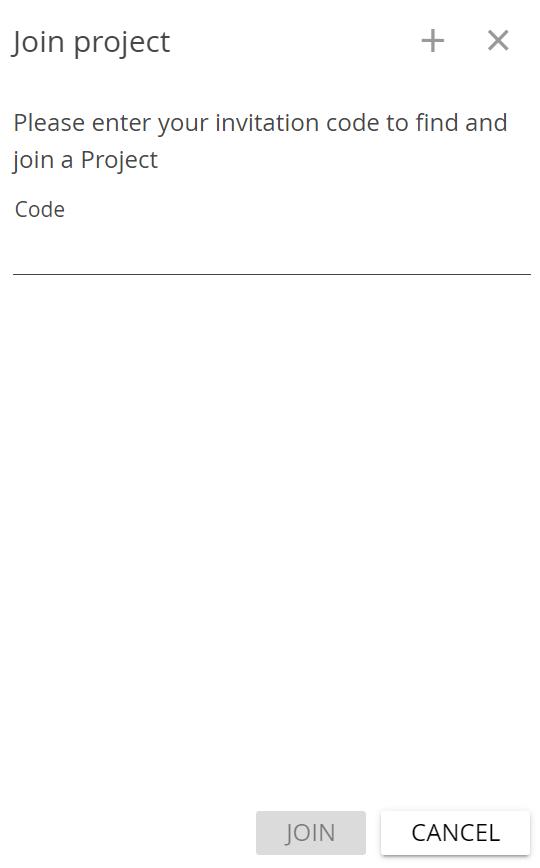
Direct the participants to navigate to their CATMA home screen. There they will have the option to select Join Project.

Direct the participants to insert the invitation code in the dialog and click on Join.
As participants join the project they will appear under Users.
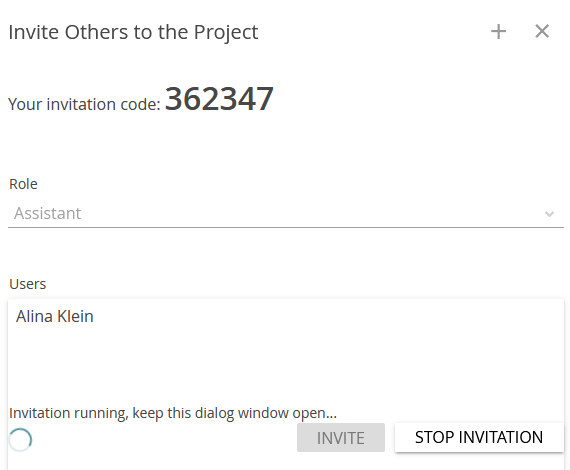
Once every intended new member appears under Users, click on Stop Invitation. The new members and their roles will now be listed in the Members panel.
Alternative ways to add/invite several participants to a project at the same time are 1) create a user group and then add this user group to your project, or 2) simply invite multiple users by email (as shown under step 1). These options are a better choice if you want to prepare everything up-front, rather than in real time. Further information on user groups and the different options for adding project members can be found in the Compact Manual.
Changing Members’ Roles
You are able to change your members’ roles at any time. To edit the role of a member or remove a member, navigate to the Team section and select the member(s). Then, select either Remove Members or Edit Members from the three-dot menu.
When choosing Edit Members, a dialog will appear with an option for you to select a new role.